How to Use a Nail Transfer Foils Set — Beginner Guide
Learn what a nail transfer foils set is and follow clear, beginner-friendly steps to get flawless foil transfers using the included rolls and transfer gel.
Foil nail art gives fast, high-impact designs with minimal tools — ideal for beginners who want salon-style results at home. This guide breaks down what a nail transfer foils set includes and shows you exactly how to use the rolls step by step, with practical tips to avoid common mistakes.
What a nail transfer foils set actually contains
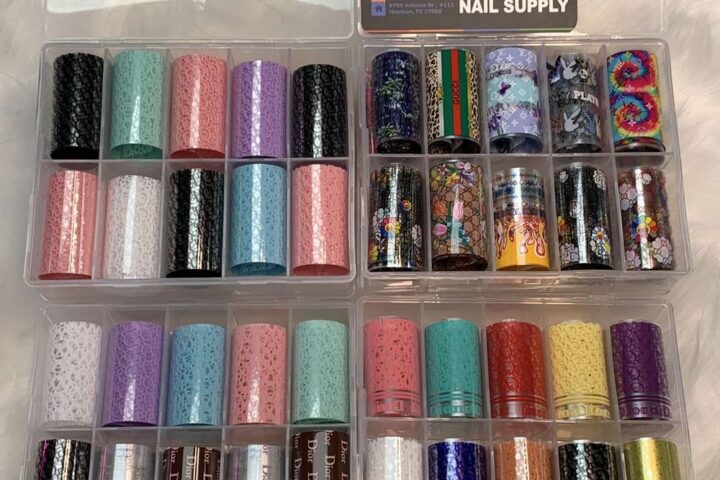
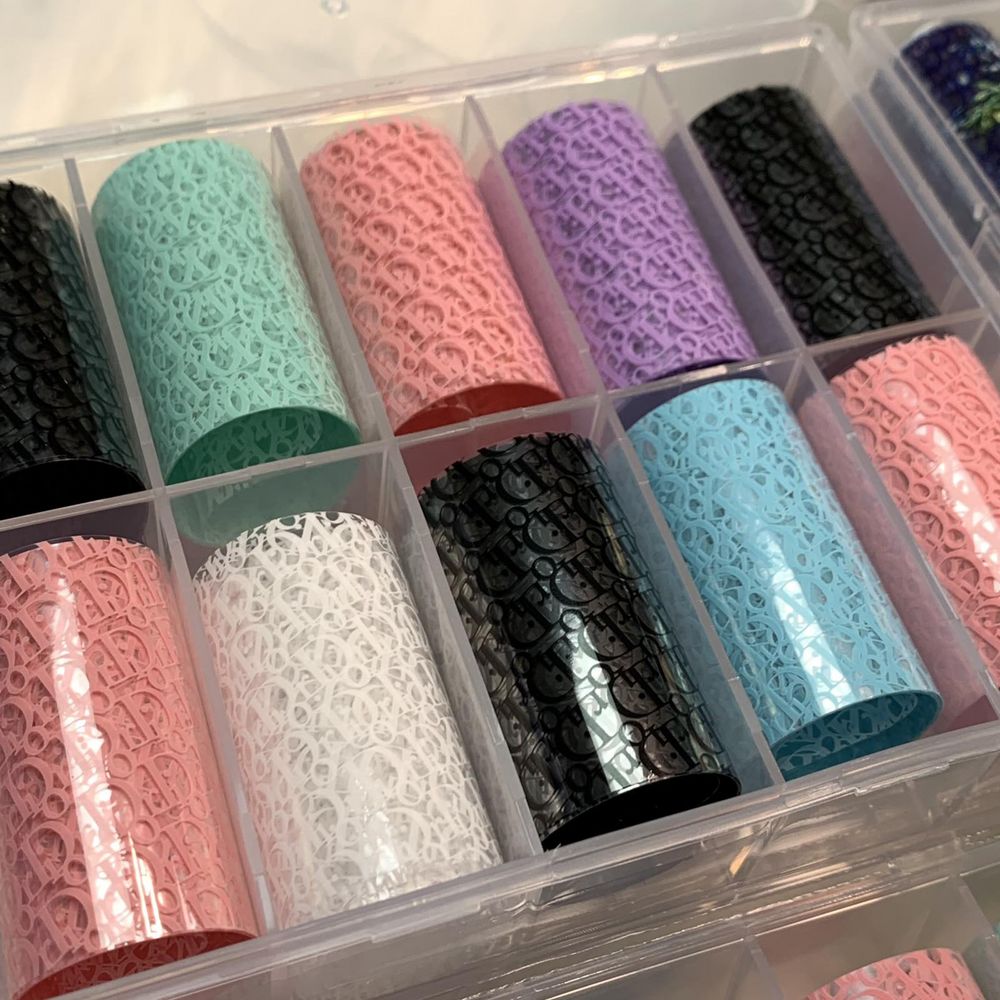
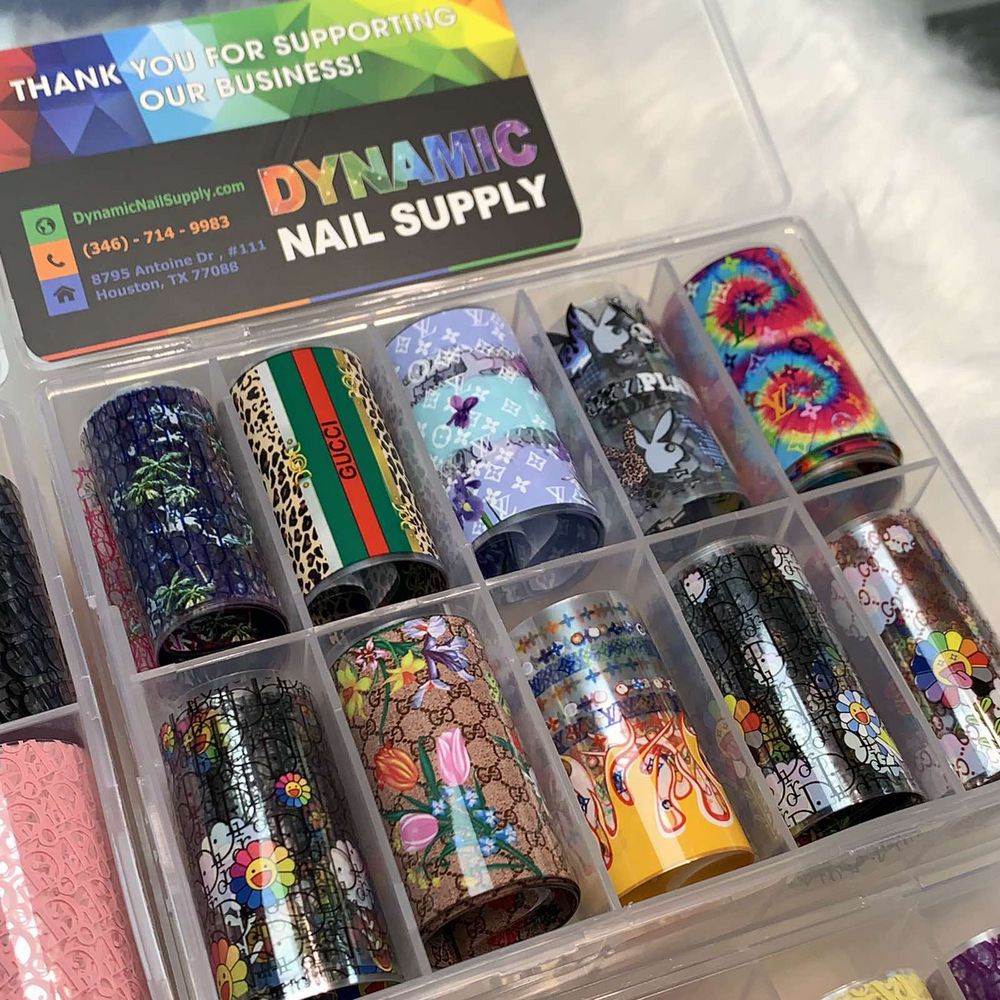
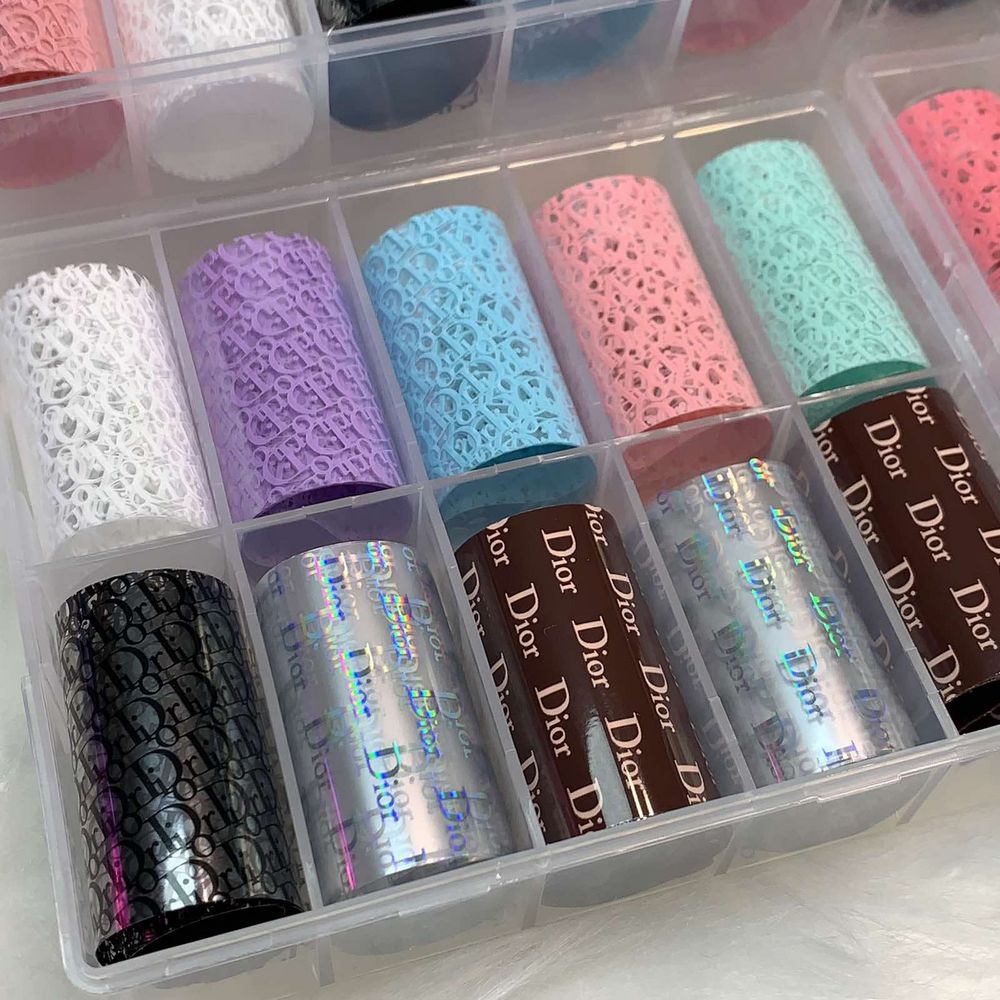
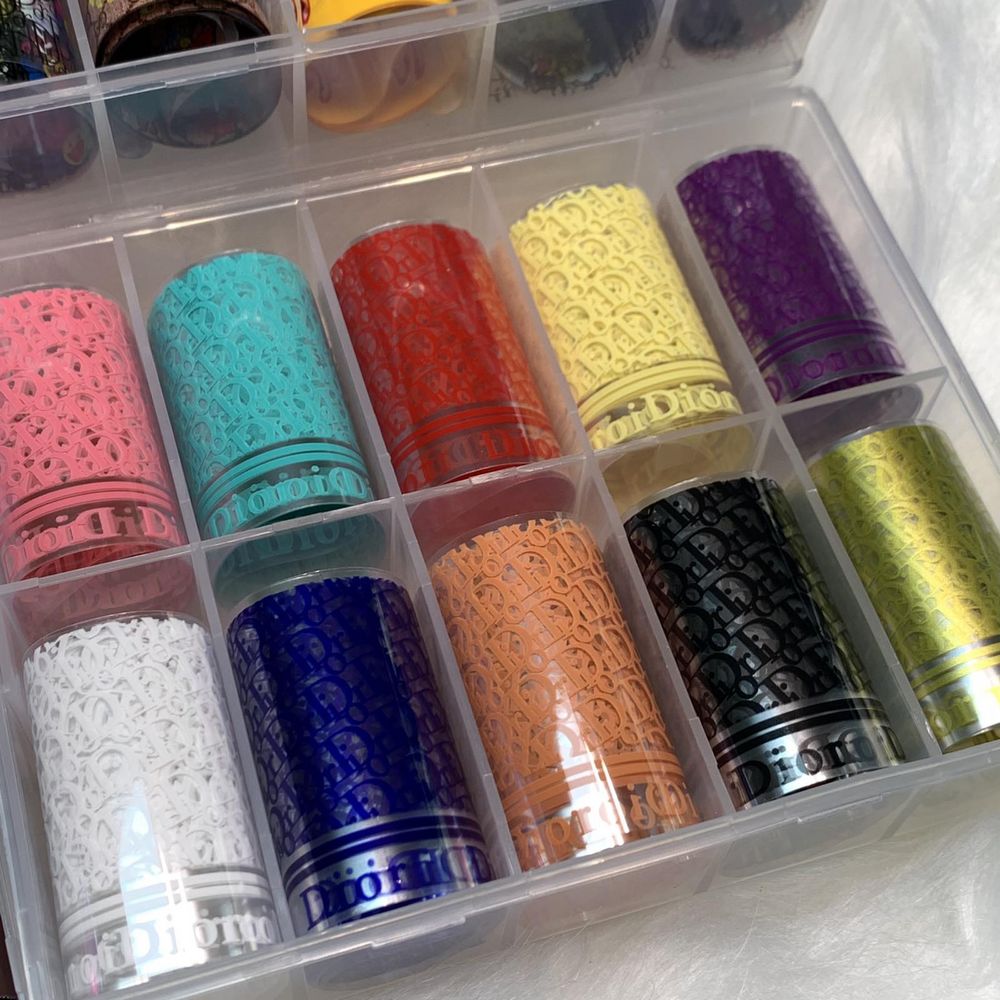
The kit is a collection of narrow printed foil rolls designed to transfer patterns onto cured gel. Each roll measures roughly 40 inches long and 1.5 inches high, and the full assortment adds up to about 400 inches (33 feet) total. The package includes 10 pieces in different designs, and you can buy single boxes or the full set of 4 boxes depending on how many patterns you want to work with.
Find the designs and options at transfer foil set and watch the tutorial for live demos on Instagram.
Key features to notice before you start
- Long rolls: At ~40 inches per roll you get many nail applications from each design.
- Multiple designs: Ten distinct patterns let you mix and layer effects across sets of nails.
- Designed for transfer gel: The foils are intended to be used with a transfer gel (Dynamic Transfer Foil Gel) for reliable film pickup.
- Buying options: Individual boxes cost less per set, while the Full set of 4 boxes bundles multiple designs together.
Step-by-step: applying nail transfer foils (beginner-friendly)
- Prep the nail: Clean and shape nails, then apply your usual base coat and cure if you use gel base products.
- Apply transfer gel: Paint a thick layer of transfer gel (Dynamic Transfer Foil Gel) over the nail area you want to cover. Make the layer even but not runny.
- Cure the gel: Cure the transfer gel for 2 minutes (120 seconds) under your LED/UV lamp as instructed by your lamp manufacturer.
- Cut and place foil: Cut a piece of foil slightly larger than the nail. Place the printed side face-down onto the cured gel film so the design contacts the nail.
- Rub for transfer: Use a soft eye-shadow brush and rub briskly back and forth over the foil until the printed film transfers. If there’s resistance or tackiness, rub longer or press more firmly; you can remove and re-rub if needed.
- Peel and finish: Carefully lift the foil — the design should remain on the nail. Seal with a top coat and cure the top coat for 1 minute to lock the design.
Practical tips to get clean foil results
- Work one nail at a time: Transfer gels often have a specific tack window; finishing one nail at a time gives more consistent results.
- Use a firm rub: A soft brush is preferred for delicate patterns, but press and rub enough to shift the film fully from the foil to the gel.
- Trim slightly larger pieces: Cutting the foil a bit larger than the nail makes placement easier and prevents gaps at the edges.
- Re-rub if needed: If the foil lifts or looks incomplete, place it back down and rub some more — the instructions explicitly recommend this step for stubborn areas.
- Top coat care: Use a compatible top coat and cure for the recommended 1 minute to protect the transferred design.
Who this set is best for
This nail transfer foils set is ideal for beginners and hobbyists who want professional-looking results without advanced tools. Because each roll is long and there are ten design pieces, crafters who enjoy experimenting with mixed-pattern looks will find plenty of variety. Salon techs can also use single boxes as a low-cost way to add seasonal designs to their service menu.
Storage, care and safety notes
- Store properly: Keep foil rolls flat and away from direct sunlight to avoid creasing or fading of printed patterns.
- Handle gently: The printed film is thin — avoid folding the design side when cutting and placing the foil.
- Keep away from children: Small cut pieces and liquids used in gel services should be stored out of reach.
- Follow curing guidance: Use the listed cure times (2 minutes for transfer gel, 1 minute for top coat) as a baseline and adjust only according to your lamp and product compatibility.
Final notes and next steps
With a little practice you can achieve crisp logo-like prints and decorative accents using these long foil rolls and the recommended transfer gel. For a clear video walkthrough, check the brand’s Instagram tutorial @DynamicNailSupply. Options are priced from $7 up to $28 depending on how many boxes you select, so beginners can start small and expand as you gain confidence.
Ready to experiment? Start with a single box to practice technique, then move to the full set for variety once you’re comfortable with the rubbing and curing steps.