How to Use Mixed Shape Nail Sequins for Pro Results
Get salon-quality nail art with a box of 12 colorful mixed-shape sequins—step-by-step placement, sealing tips, and creative design ideas.
Small embellishments can make a big difference. Mixed shape nail sequins are an easy, low-cost way to turn basic polish into a professional-looking design—whether you’re working in a salon or refining your at-home skills.
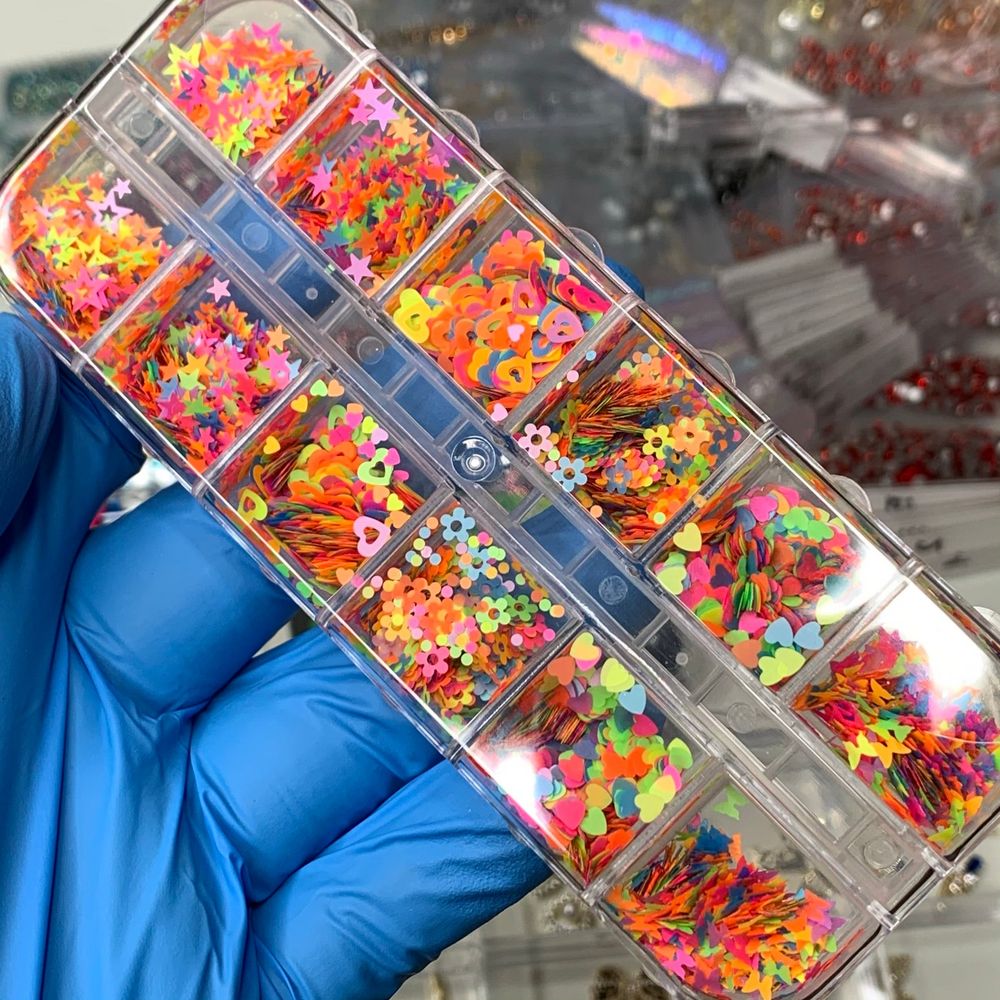
What’s in the box and why it matters
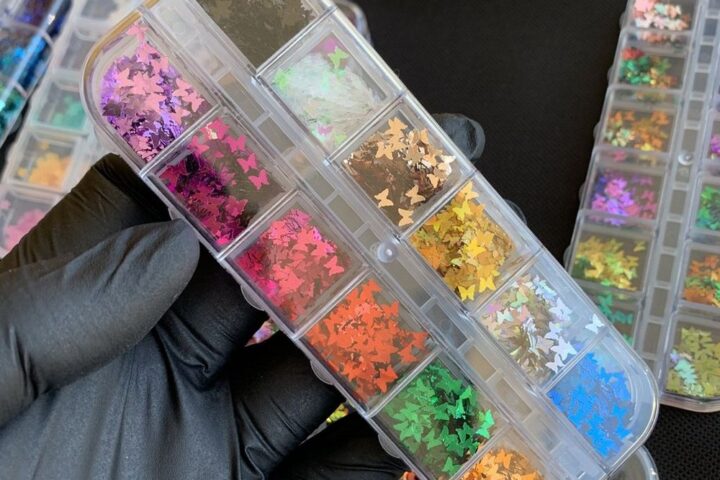
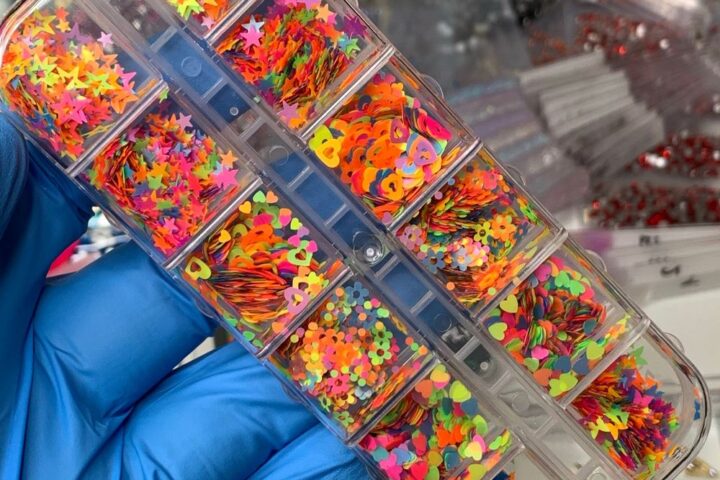
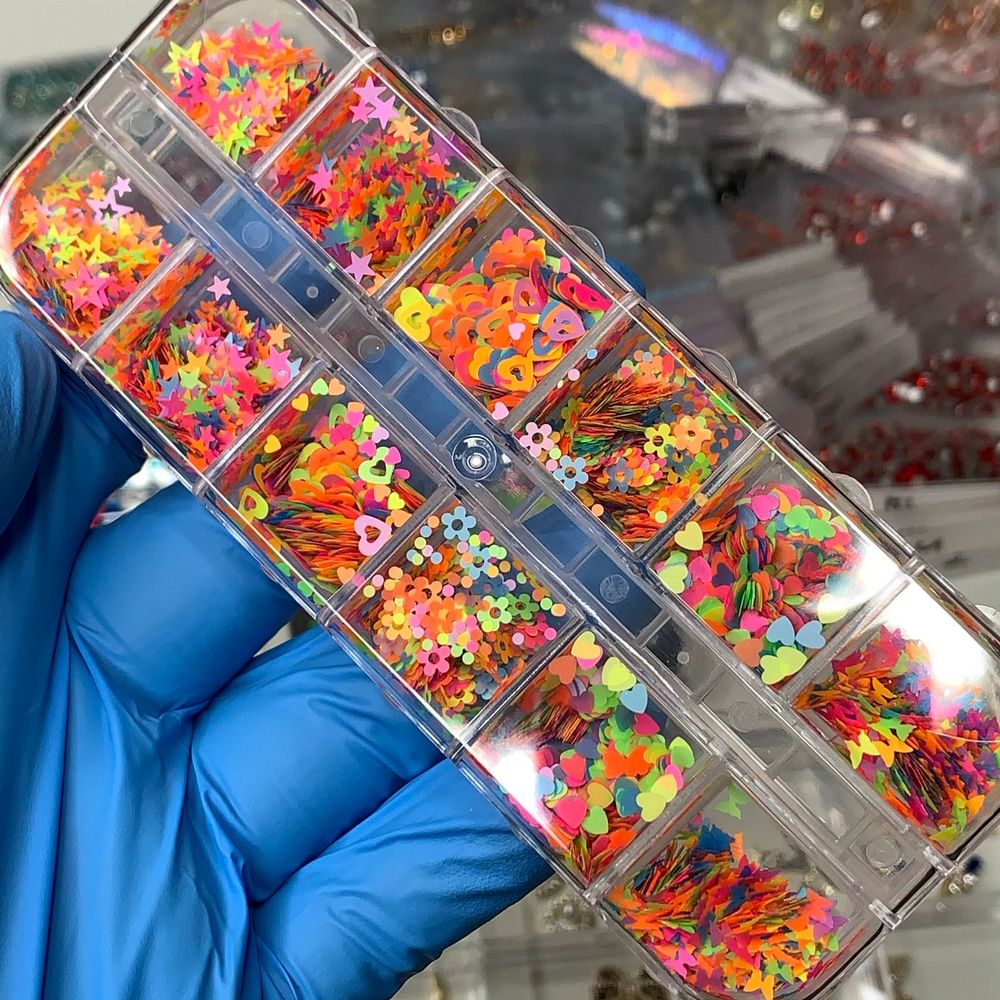
Each box contains 12 different sequin styles and a handy variety of sizes and shapes that play well together. The SKU is 8933, and the assortment gives you heart shapes, rounds, stars and geometric accents all in one pack—ideal for layering and mixing. For a ready-made starter, try sequins mixed shapes to test combinations before committing to a full set.
Tools and base products you’ll need
- Base coat and top coat (use a fast-dry top coat for quicker service at the salon).
- Fine-tipped tweezers or a wax-sealing dotting tool for precise placement.
- Thin nail glue or builder gel if you want sequins to last beyond a single polish layer.
- A small tray or dish to sort shapes and keep them organized.
- Optional: a small fan brush to sweep away excess dust or stray bits.
Step-by-step: salon-quality application at home or in the salon
1. Prep the natural nail
Start with clean, dry nails. Shape, lightly buff the surface to remove shine, and apply base coat. Proper prep is the foundation of long-lasting placement.
2. Lay down color or clear base
Apply two thin coats of your chosen polish color and allow drying between coats. For lifted, dimensional looks, a slightly tacky layer works best to hold sequins before sealing.
3. Place the sequins
Use tweezers or a wax picker to lift a single sequin and position it on the nail. Work one nail at a time so the base remains tacky. Start with focal points—tips, crescents at the cuticle, or a centered feature—and build outward for balance.
4. Secure and seal
For everyday wear, embed sequins under a generous layer of top coat. For longer retention, spot-apply a tiny bead of nail glue or place sequins into a thin layer of builder gel and cure. Finish with a final top coat to smooth edges and protect the design.
Design ideas that look professional
- Accent nail cluster: place three to five sequins near the cuticle of one nail for a salon-finished accent.
- Gradient scatter: use smaller shapes near the base and larger shapes toward the tip for a cascading effect.
- Geometric frames: outline a shape with tiny rounds, then fill the center with a contrasting sequin.
- Valentine-ready styling: heart shapes from the assortment make quick seasonal looks without full hand-painting.
Practical tips for cleaner, faster application
- Sort before you start: arrange similar shapes in a small tray to avoid time lost searching.
- Work on one hand at a time if you’re right-handed—this keeps placement consistent and steady.
- Use thin layers of top coat—multiple thin layers dry smoother than one thick layer and reduce bubbling.
- To remove or reposition: lift gently with tweezers before the top coat fully cures to avoid polish damage.
Who should use these sequins?
This pack is ideal for nail technicians and hobbyists who want to expand their decoration options without buying separate shapes. It’s also a smart choice for mobile techs and boutique salons that need variety in a compact SKU. At a listed price of $6.00 (price may change), it’s an affordable add-on to retail or a quick upgrade to client services. Dynamic Nail Supply carries this assortment for professionals and enthusiasts alike.
Care, removal, and safety notes
- To remove sequins, soak nails in polish remover and gently lift decorations with a wooden stick—avoid aggressive peeling to protect the natural nail.
- If you use glue or builder gel, follow product instructions for safe use and curing times to avoid skin contact or improper adhesion.
- Store the box in a cool, dry place so small shapes don’t warp or lose color over time.
Conclusion: small details, big impact
Mixed shape nail sequins are a fast route to salon-style creativity—versatile enough for simple accents or elaborate art. With basic tools, careful placement, and a good sealing method, you can achieve durable, professional results whether you’re working on clients or perfecting your at-home routine.